
Introduction
Woodworking is a fascinating hobby that allows you to create beautiful and functional items for your home. Whether you’re a beginner or have some experience with woodworking, this article will serve as a blueprint to help you embark on easy wood projects that will enhance your living space. In this guide, we’ll explore the basics of woodworking, the tools you’ll need, safety measures to keep in mind, selecting the right type of wood for your project, step-by-step instructions for simple wood projects, finishing techniques, and tips to maintain your finished creations.
Understanding the Basics of Woodworking
Before diving into your woodworking projects, it’s essential to understand the basics of this craft. Woodworking involves using various tools to shape and manipulate wood to create desired objects. It requires precision, patience, and a passion for working with your hands.
Woodworking is a timeless craft that dates back centuries, with techniques passed down through generations. The art of woodworking not only involves creating functional pieces but also allows for artistic expression and creativity. Each piece of wood has its own unique characteristics, requiring woodworkers to adapt their methods accordingly.
Essential Tools for Woodworking
To get started, you’ll need a collection of essential woodworking tools. These include a circular saw, a jigsaw, a router, a chisel set, a hammer, a mallet, a tape measure, a drill, and various clamps. As you progress, you may consider investing in more specialized tools to expand your capabilities.
Woodworking tools come in a variety of shapes and sizes, each serving a specific purpose in the woodworking process. From shaping and smoothing wood surfaces to joining pieces together, having the right tools can make a significant difference in the quality of your projects. Understanding how to properly maintain and sharpen your tools is crucial for ensuring their longevity and effectiveness.
Safety Measures in Woodworking
Prioritizing safety is crucial before undertaking any wood project. Always wear protective gear such as goggles, gloves, and a dust mask. Familiarize yourself with the proper handling and usage of each tool, and be cautious of electrical hazards. Additionally, ensure your work area is well-ventilated and clear of any clutter.
Woodworking safety goes beyond just wearing protective gear; it also involves understanding the properties of different types of wood and how they interact with various tools. Being aware of potential risks, such as splinters, kickback from power tools, and harmful fumes from certain wood finishes, is essential for maintaining a safe working environment. Taking the time to educate yourself on safety practices can prevent accidents and ensure a fulfilling woodworking experience.
Selecting the Right Type of Wood for Your Project
The choice of wood plays a significant role in the outcome of your project. Different woods possess unique characteristics, such as color, grain pattern, and durability. It’s essential to consider factors such as the project’s purpose, aesthetic preferences, and budget when selecting the appropriate type of wood.
When choosing the right type of wood for your project, it’s also important to consider the workability of the wood. Some woods are easier to cut, shape, and sand than others, which can impact the overall ease of working with the material. For example, cherry and walnut are known for their smooth workability, making them popular choices for intricate woodworking projects that require precision and fine detailing.
Characteristics of Different Wood Types
Commonly used woods for woodworking projects include oak, pine, maple, walnut, and cherry. Oak is known for its strength and durability, while pine is popular for its affordability and versatility. Maple offers a pale, smooth finish, and walnut and cherry provide rich, dark tones that are ideal for furniture pieces.
Each type of wood also has unique grain patterns that can add character and visual interest to your project. Oak typically has a prominent grain pattern that can range from straight to intricate swirls, while maple has a subtle and uniform grain that creates a sleek and modern look. Walnut and cherry, on the other hand, feature rich, deep grain patterns that can enhance the beauty of furniture pieces and decorative items.
Cost and Availability of Various Woods
The cost and availability of different woods can vary based on your location and supplier. It’s important to research local wood suppliers and compare prices to ensure you’re making an informed decision. Additionally, consider the sustainability of the wood you choose to support environmentally friendly practices.
Some exotic woods, such as teak or mahogany, may be more expensive and harder to find due to their limited availability and unique properties. While these woods can add a luxurious and distinctive touch to your project, they may require special handling and care during the woodworking process. It’s essential to weigh the cost, availability, and workability of different wood types to select the best option for your specific project needs.
Step-by-Step Guide to Simple Wood Projects
Now that you have a grasp of the basics and have selected the suitable wood for your project, let’s dive into creating some simple wood projects that will enhance your home.
Woodworking is not only a practical skill but also a creative outlet that allows you to personalize your living space with handmade pieces. Whether you are a seasoned woodworker or just starting, these simple projects are perfect for honing your skills and adding a touch of craftsmanship to your home.
Creating a Wooden Picture Frame
A wooden picture frame adds a touch of elegance to any photograph or artwork. Begin by measuring the desired dimensions of your frame and cutting the wood accordingly. Next, assemble the frame using glue and nails or screws. To add a decorative element, consider carving intricate designs or patterns onto the frame. Lastly, sand the frame to achieve a smooth finish and apply a coat of varnish or paint to protect the wood and enhance its natural beauty.
Building a Wooden Coffee Table
A coffee table is a practical and stylish addition to any living room. Start by designing your coffee table and creating a plan. Consider incorporating features such as storage compartments or a unique shape to make your coffee table stand out. Measure, cut, and assemble the wooden pieces to form the table’s frame and top. To add a personal touch, you can stain the wood in a color that complements your existing furniture. Sand the surfaces to achieve a polished look, and apply a protective finish to enhance durability and ensure longevity.
Crafting a Wooden Bookshelf
A wooden bookshelf offers both storage and aesthetic appeal. Begin by determining the desired height, width, and shelf spacing of your bookshelf. Customize the design by adding decorative elements such as trim or molding to elevate its appearance. Cut and assemble the wooden boards to form the frame and shelves, ensuring stability and strength. To showcase your woodworking skills, consider incorporating adjustable shelves or a built-in lighting feature. Sand the surfaces to a smooth finish and add a clear coat or paint to protect the wood from wear and tear while adding a pop of color to your space.
Finishing Your Wood Projects
After completing the construction of your wood projects, it’s time to focus on finishing touches that will give them a polished and professional look. Attention to detail during the finishing process can truly elevate the overall appearance and durability of your creations.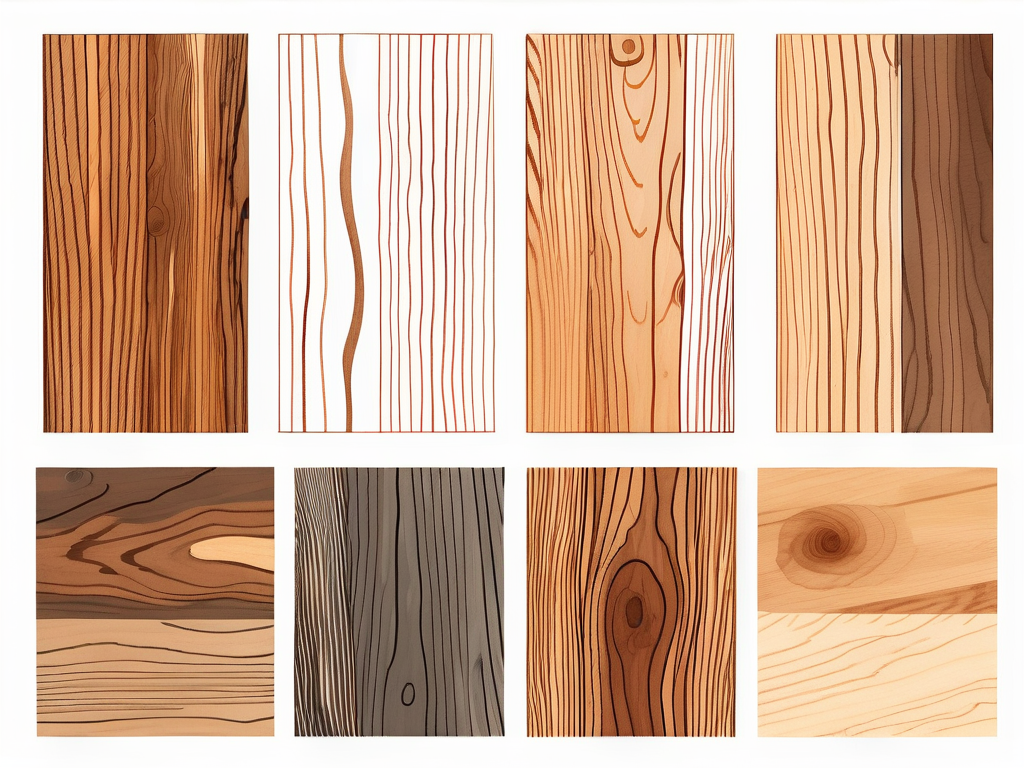
One important step in achieving a professional finish is to pay close attention to the sanding and smoothing of your project. Using sandpaper or a power sander, carefully smooth the surfaces of your wood project to remove any rough edges or imperfections. By starting with a coarse-grit sandpaper and gradually transitioning to finer grits, you can ensure a flawless finish that is both visually appealing and pleasant to the touch.
Sanding and Smoothing Your Project
Using sandpaper or a power sander, carefully smooth the surfaces of your wood project to remove any rough edges or imperfections. Start with a coarse-grit sandpaper and gradually transition to finer grits for a flawless finish. Remember to sand in the direction of the wood grain to prevent any unsightly scratches or marks that may detract from the final look of your project.
Once you have achieved a smooth surface, take the time to inspect the wood carefully for any remaining imperfections. Addressing these now will save you time and effort later in the finishing process, ensuring a more professional result.
Applying Wood Stain for a Finished Look
If you desire a stained finish, select a wood stain that complements the natural beauty of your chosen wood. The right wood stain can enhance the grain and color of the wood, adding depth and richness to your project. When applying the stain, whether with a brush or cloth, be sure to follow the manufacturer’s instructions carefully to achieve the desired effect.
Allow the stain to dry thoroughly before adding a protective sealant. This step is crucial in preserving the beauty of your wood project and protecting it from daily wear and tear. A quality sealant will not only enhance the appearance of the wood but also provide a durable finish that will stand the test of time.
Maintaining Your Wood Projects
To ensure the longevity and beauty of your wood projects, regular maintenance is key.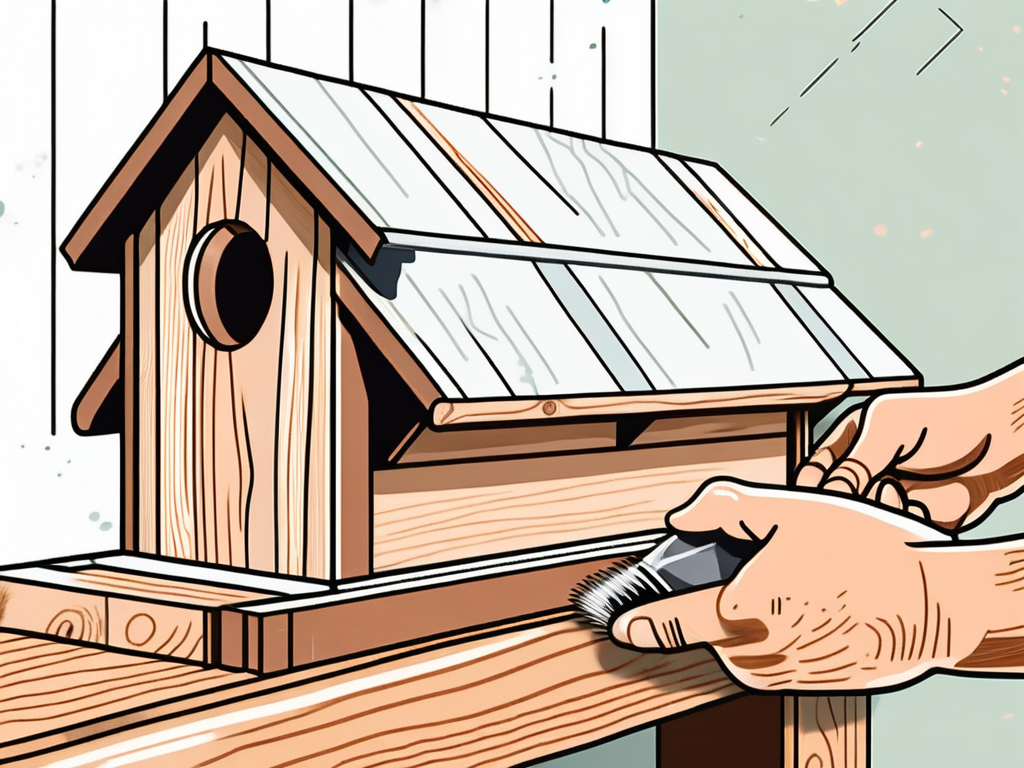
Regular Cleaning and Dusting
Clean your wood projects regularly with a soft cloth or a gentle wood cleaner to remove any dust or dirt. Avoid using harsh chemicals or abrasive materials that may damage the wood’s finish.
Repairing Scratches and Dents
Inevitably, scratches and dents may appear on your wood projects over time. To repair minor damage, use a wood filler to fill the affected area, sand it smooth, and then apply a matching finish. For deeper scratches or dents, it may be necessary to seek professional assistance.
By following this beginner’s blueprint, you can confidently embark on your journey of creating easy wood projects that will enhance your home. With time and practice, you’ll develop your skills and explore more intricate woodworking techniques. Remember, woodworking is both an art and a craft, so enjoy the process and let your creativity shine.


